Pit-GUI
The code for this team is located in the Pit-GUI repository.
Getting Started
Install Node.js
First you need to install the latest version of Node.js (anything v16 or above should work, but v20 is reccomended).
sudo apt install nodejs
sudo apt install npm
brew install node
note: You will need to install brew for this to work, refer to this article on how to do that.
Alternatively you can download node’s installer from their website.
To verify that Node is installed, run the following command from command line.
node -v
v20.1.0
As pictured above v16+.x.x should be returned if node is correctly configured. If it does not get returned node may not be installed correctly or the path is not recognized by your shell. If restarting your shell instance does not fix it, you will need to add the node executable to your shell PATH.
Setting up a sample backend
If you are only planning on doing frontend development, these steps are not nesecary. By default, the app is set to use the remote Solar Gators API, rather than anything hosted locally.
Install MySQL
The next step is to download MySQL for the database. The steps for this will again depend on what OS you are running on.
Note that you must enable systemd if on WSL in order to start the MySQL server.
sudo apt install mysql-server

# Start mysql server
sudo /etc/init.d/mysql start
reference: How To Install MySQL on Ubuntu 18.04
brew install mysql
note: You will need to install brew for this to work, refer to this article on how to do that.
Alternatively you can download mysql’s installer from their website, link is here.
In order for our server to connect to mysql, we must create a user for it to login as. The server is configured to connect to mysql as solargators with no password. To create and configure this MySQL user, you must run a query. To do this, we will use the MySQL CLI (Command Line Interface), which will allow us to run MySQL queries directly in the command line.
sudo mysql
This will bring up the MySQL CLI, which we can then type the following MySQL queries into:
If this is a fresh MySQL instance, you may need to run the following query to allow a user to have insecure/nonexistent passwords.
UNINSTALL PLUGIN validate_password;
To create a user run the following query.
CREATE USER 'solargators'@'localhost' IDENTIFIED BY '';
Now we need to give our user some permissions to access the database. Run the following query to do so.
GRANT ALL PRIVILEGES ON *.* TO 'solargators'@'localhost';
Type quit when you want to exit the MySQL CLI.
Install NPM Dependencies & Start
If using the local database (rather than pulling from the remote telemetry site), add a file with name .env in the client folder with the contents:
REACT_APP_TELEMETRY_API = "http://localhost:9000"
Now you need to install the dependencies, to do so run the following command from the root of the repository.
npm run install-all
Now we need to ensure our symbolic link is in place. To do so run the following commands:
cd backend

# Create symbolic link (may already have been done depending on git clone method)
ln -s ../client/src/shared shared
To start the website in dev mode:
# Navigate back from Pit-GUI/backend to Pit-GUI
cd ..

# Concurrently start both backend server and client server
npm run start
Or alternatively, to have backend and client in separate windows for easier debugging:
# Start backend server
npm start

# In a new command line window, navigate to Pit-GUI/client and:
# Start client server
npm run start
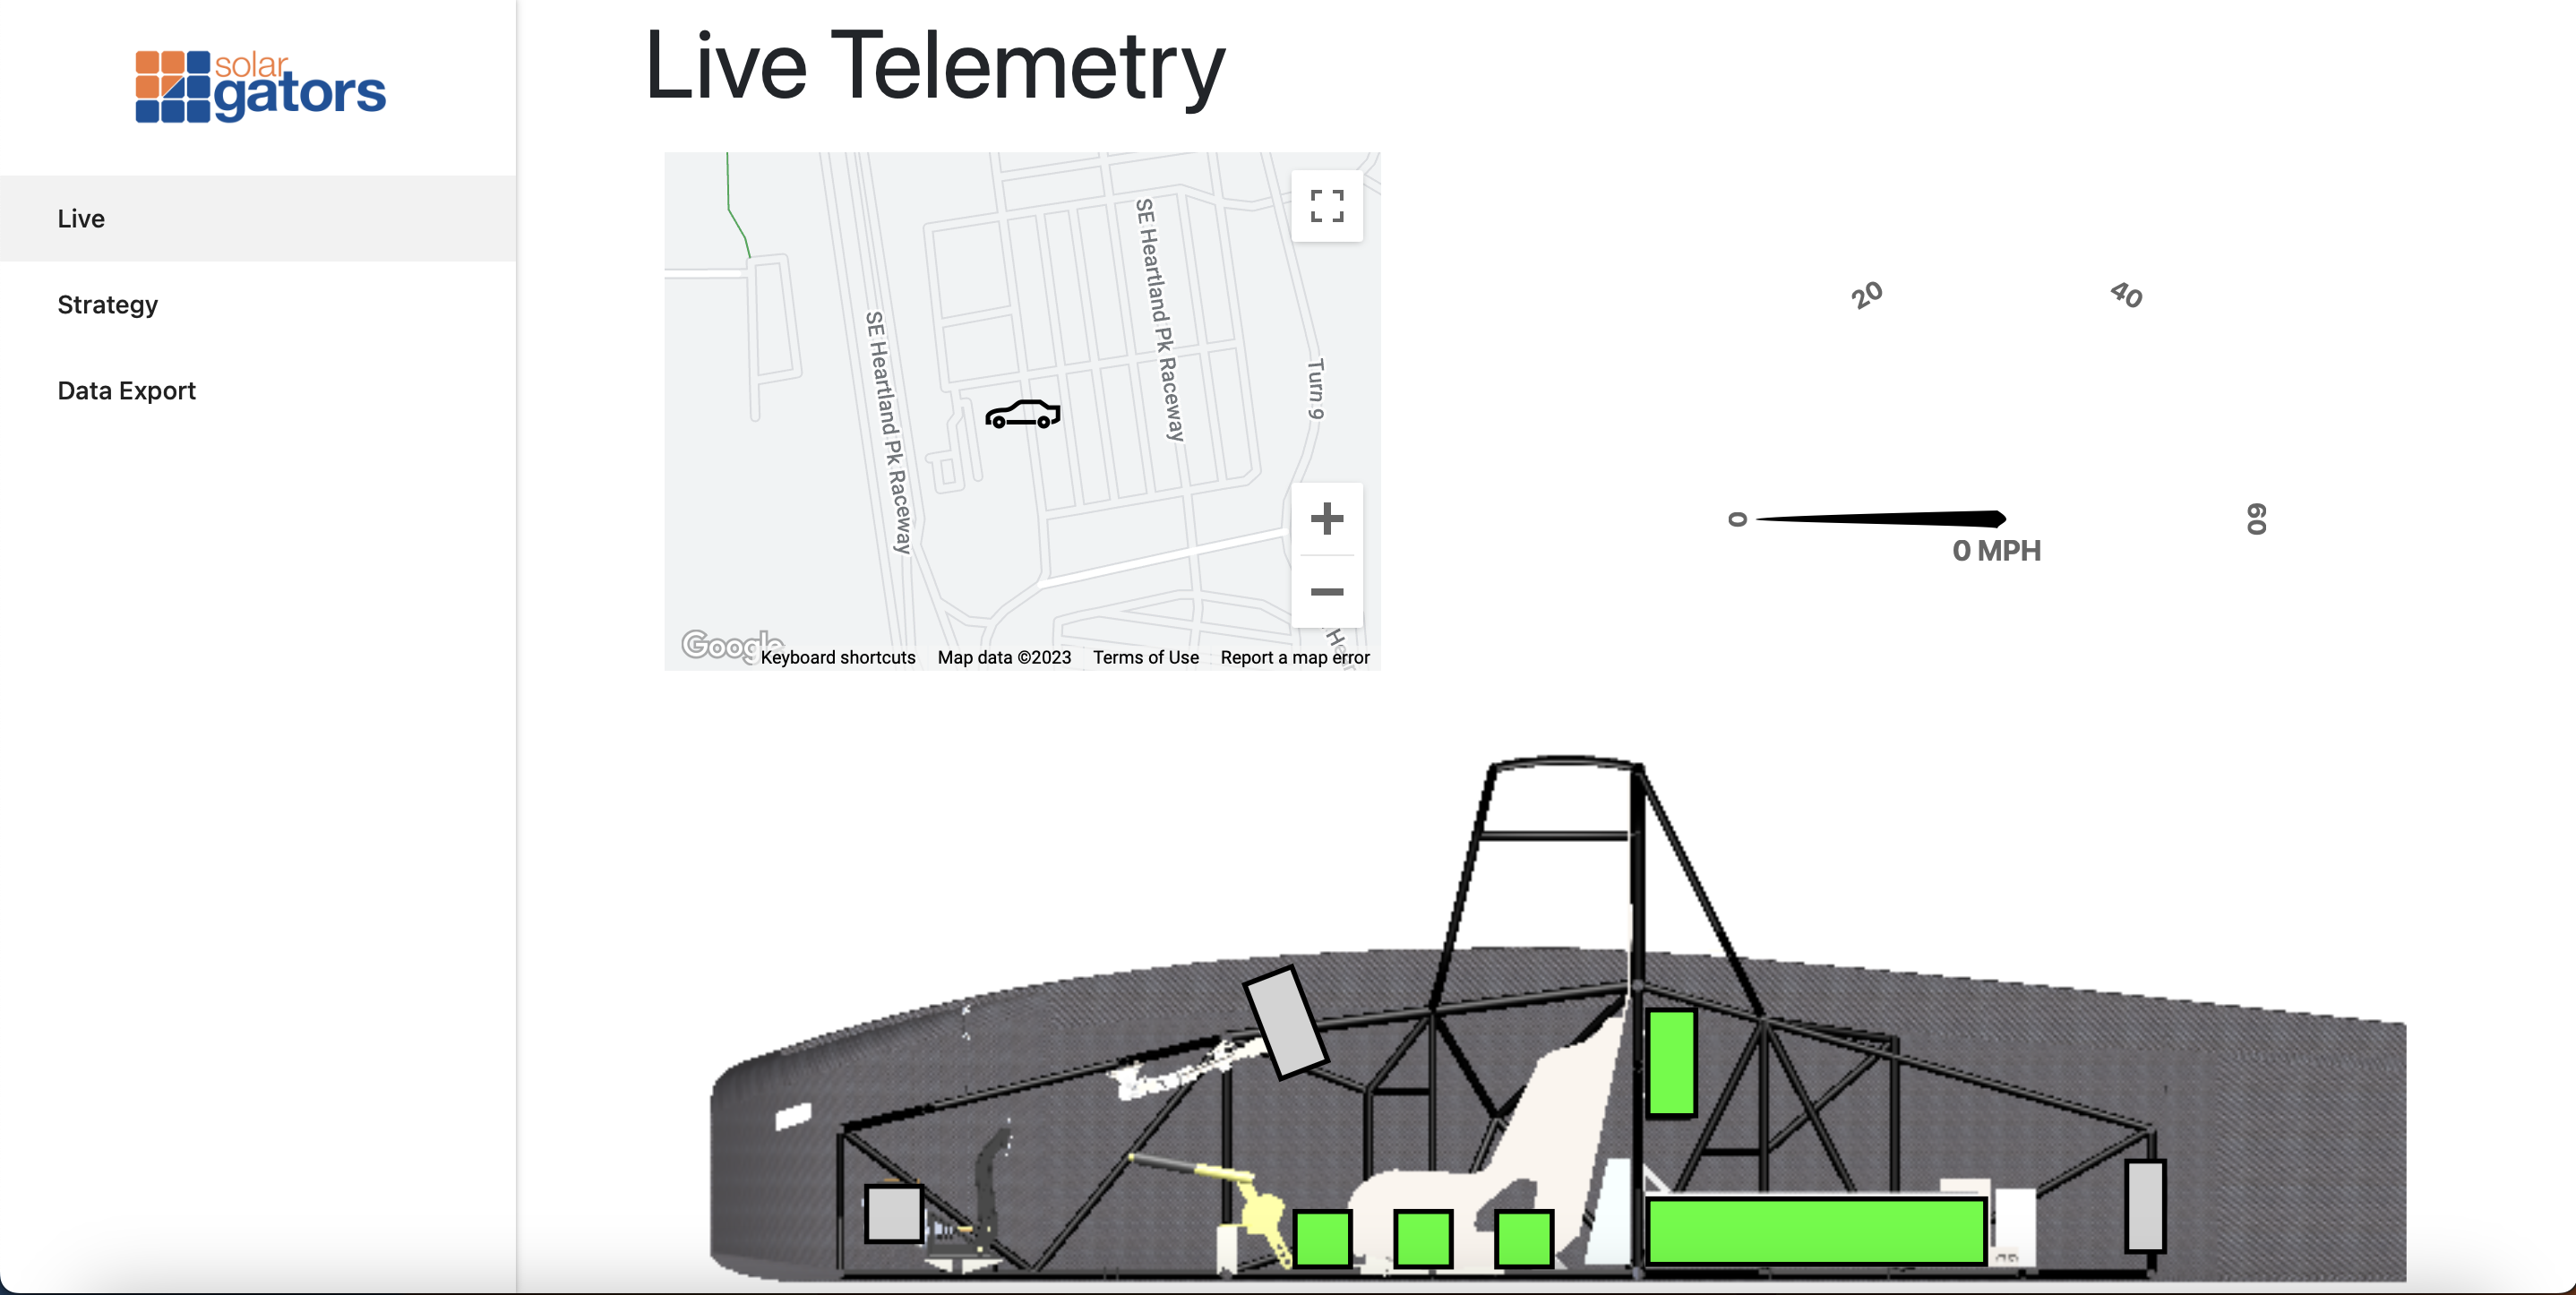
The website will popup a new browser window at localhost:3000.
Folder Structure
The folder structure of this repo
.
├── .github                  # GitHub actions continuous integration files
├── backend                  # NodeJS server
├── client                   # React App (frontend)
├── .gitignore
├── package.json             # Configuration file for npm (contains package dependencies)
└── README.md
Backend
The backend is built for an API interface to drive the GUI. The runtime is NodeJS under the ExpressJS library. I suggest doing some EpressJS examples if you are not familiar with the library.
Resources: NodeJS Example, ExpressJS Example
The database used is mysql that runs locally on the PI. The API logic is loosely based on the Model-view-controller (MVC) pattern with the views being in React instead of with the backend files.
.
├── ...
├── backend                  # JavaScript backend scripts for the API server
│   ├── config               # Express/HTTP Server & Environment configuration
│   ├── controllers          # Controller definitions (buisness logic of api endpoints)
|   ├── helper               # Helper functions
|   ├── shared/models        # sequelize model definitions
│   └── routes               # API express route definitions
└── ...
Frontend
The frontend is built on top of ReactJS utilizing the Materialize library for the UI.
.
├── ...
├── client                  # React frontend
│   ├── public              # Static public files
│   └── src                 # React componets & source
└── ...
SQL Schema Migrations
Sometimes we would like to change the schema of the database, create an extra table, etc. To do so, simply add a sequelize model and it will automatically sync the database when the service starts. One thing to watch out for though is if columns are deleted/changed historical data could get deleted.