Current MPPTs
The current MPPTs used by the team are three Photon 1s from Dilithium Power Systems. Information and documentation on these MPPTs are very limited since the company no longer exists. However, the performance of these MPPTs is very good. They require 12V to operate and can communicate on the CAN bus. 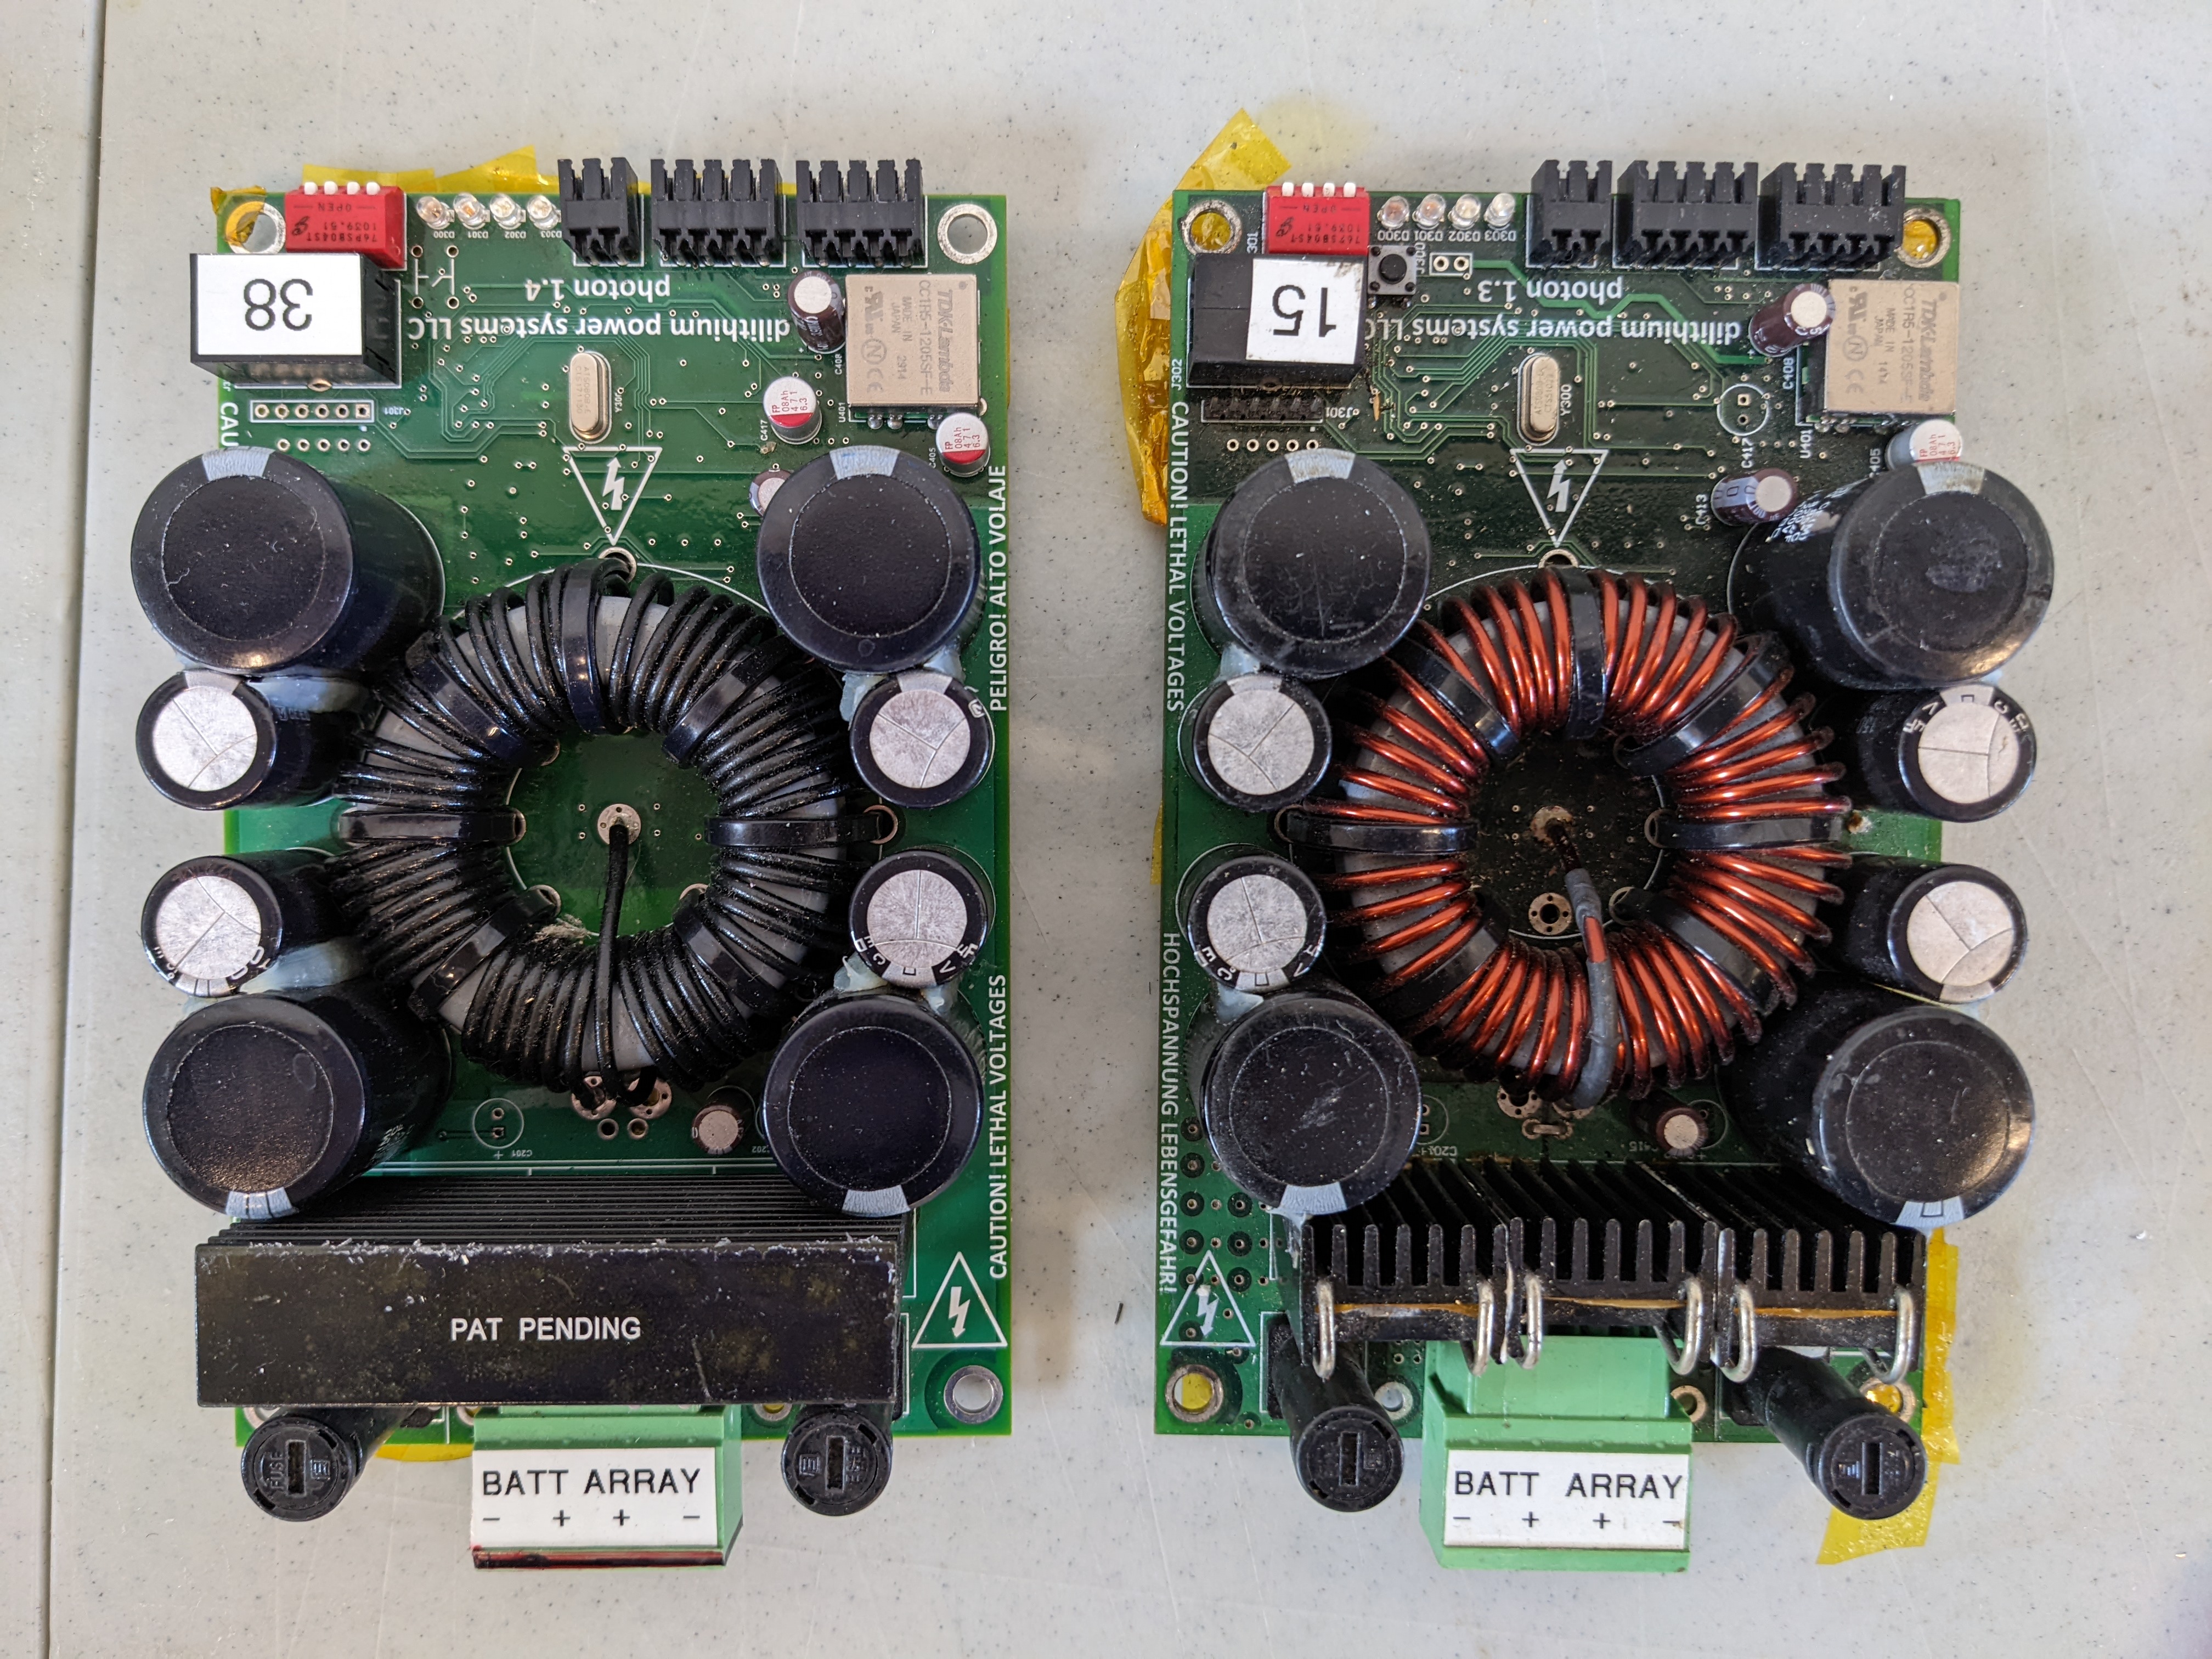
Two of the three MPPTs are depicted above. The third MPPT looks like the MPPT on the right. Internally, these two MPPTs are known as “Red Velvet.” The other MPPT depicted on the left is known as “Chocolate Donut.”
Chocolate Donut currently operates at 125kHz and therefore cannot be on the rest of the vehicle CAN bus, which operates at 500kHz. Red Velvet MPPTs do operate at 500kHz, though. In addition, Chocolate Donut will only respond to telemetry data requests. It will not respond to read/write communications. For more details on the various communication modes, see the sections below. Currently, it is not known that Chocolate Donut’s settings can be changed. Listed below are its last known settings:
Max Voltage: 155V
Nominal Voltage: 130V
Min Voltage: 85V
Communicating with the MPPTs
There is no official documentation on programming the MPPTs. Programming methods were determined by viewing the python code on Dilithium’s github repository.
There are three methods of communication with the MPPTs: telemetry data, reading data, and writing data. Communication is performed over CAN at either 125kHz or 500kHz with a message that is eight bytes long. Each method has a specific address that should be written to.
Telemetry Data
Frequency: 125kHz or 500kHz
Identifier: Standard (11-bit)
Message Length (DLC): 8
Address: 0x600 (assuming default base address)
RTR: True
Telemetry data provides real-time information on information such as solar array voltage and current, battery voltage and charging current, and temperature.
To get telemetry data, an RTR CAN message that is eight bytes long should be sent on the MPPT’s base address. The base address of the MPPT is 0x600 by default. It may be adjusted using the switches present on the MPPT. The MPPT will reply with the data on the same address. The format of the sent data can be found here.
Reading Programmed Values
Frequency: 125kHz or 500kHz
Identifier: Standard (11-bit)
Message Length (DLC): 8
Address: 0x620 (assuming default base address)
RTR: False
Reading a programmed value will cause the MPPT to send out a CAN message of eight bytes on the same address of the requested parameter.
Read command: 0x00 00 00 00 00 00 00 ID
ID corresponds to the number of the value you would like to request. Make sure to convert to hexadecimal if you choose to send a command in hexadecimal.
ID 0: Serial Number (int32)
ID 1: Hard Output Voltage (float)
ID 2: Min Output Voltage (float)
ID 3: Max Output Voltage (float)
ID 4: Const Output Voltage (float)
ID 5: Max Temperature (float)
ID 6: Hard Current (float)
ID 7: Max Current (float)
ID 8: Scale Amps In (float)
ID 9: Offset Amps In (float)
ID 10: Scale Amps Out (float)
ID 11: Offset Amps Out (float)
ID 12: Scale Volts In (float)
ID 13: Offset Volts In (float)
ID 14: Scale Volts Out (float)
ID 15: Offset Volts Out (float)
ID 16: Const Voltage Hyst (float)
ID 17: Safety Voltage Hyst (float)
ID 18: Safety Current Hyst (float)
ID 19: Safety Temperature Hyst (float)
ID 20: Thermistor Beta (float)
ID 21: Thermistor Ro (float)
ID 22: Thermistor Rbias (float)
ID 23: Thermistor To (float)
ID 24: CAN Bitrate (int32)
ID 25: CAN Base Address (int32)
ID 26: Test Mode (int32)
ID 27: PO Seconds (float)
ID 28: INC Seconds (float)
ID 29: TRACK Seconds (float)
ID 30: SW Version (int32)
ID 31: Sync Current Hi (float)
ID 32: Sync Current Low (float)
ID 33: Auto Send Rate (float)
Writing to Programmed Values
Frequency: 125kHz or 500kHz
Identifier: Standard (11-bit)
Message Length (DLC): 8
Address: 0x630 (assuming default base address)
RTR: False
Send out a new value to write to a register in the MPPT. The addresses are the same as those found in the read section.
Write command: 0xdd dd dd dd 2D 4E 45 ID
ID corresponds to the data value you would like to write to. “dd” is a placeholder for the data you would like to write. You may choose to send a read command after writing to ensure you wrote successfully. Make sure to convert to hexadecimal if you choose to send a command in hexadecimal. Remember to convert floating point values.